ADDING FILES
There are a number of different ways to add a file to Arclink.
A file can be added using the main menu options File -> Add. The user will be presented with the screen displayed below. The only field that is defaulted is the file opening date which defaults to the current date. The user must then select the section and level the file is to be added to. This is shown in the second screen shot. Note that the closing date has now been populated. This is based on the selected level's lifecycle and this is covered in more detail in Retention & Disposal.
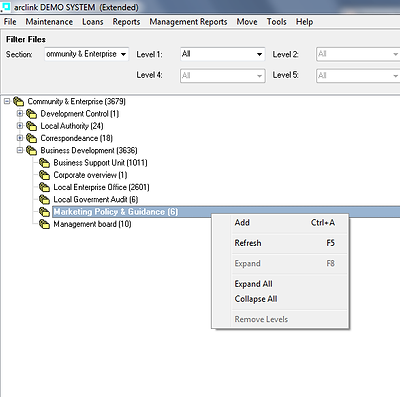
A file can also be added by right-clicking on a level, or on the file grid, and selecting Add. This will add a file to the selected level and the Add File form will have the selected section/level combination selected and read-only. Note that the opening and closing date have also been populated, based on the selected level's lifecycle.
Note : Files cannot be added to sections
Once the section and levels have been selected, which in turn calculate the mandatory opening and closing date, the only other field that must be completed is the file title. Each file is assigned an automatically generated unique Arclink system reference. This is completed once the file is saved. When the file is saved, the system will generate a file label that can be printed. This is covered in greater detail in Label Printing.
The Alternative File Reference field (Alt. Reference) can be used to store file references from other systems, such as legacy records management system. This is useful where there is a requirement to refer to files using a legacy file reference identifier. This field can be disabled and hidden if not required.